 I mentioned in a recent post that I had come into the opportunity to use a nice size stainless steel (formerly steam jacketed) pot as a brew kettle. My initial thought was that I needed to purchase a considerably larger propane burner with a much higher BTU output, but a friend who has recently completed an electric setup in a converted 15 gallon keg brought up the possibility of crafting a heat stick.
I was somewhat familiar with electric systems from hearing his progress as he went through the build process, but was unfamiliar with electric heat sticks. The gist of the idea is using a heating element from an electric water heater as the heat source for a boil kettle. Perfect for a setup with a borrowed kettle that I don’t want to modify!
There are a number of reference articles, posts, and threads for building full electric systems with kettle-mounted elements, but brewing with heat sticks seems to be a somewhat newer trend. Even so, there are a number of designs in existence. The latest generally seem to use an ultra low watt density element, though there are many reports that the regular elements are perfectly suitable and don’t impact even very light lagers. I’ve already found an element that I think will be suitable assuming I have sufficient watt output.
This post is another of my evolving “project in progress” posts, so it will change and evolve as the project moves from research, planning, and design through the build, test, and finalization phases.
Project potential part/price/location list
- Spa Panels
- Home Depot GE 60A GFCI spa panel/disconnect $72.45 (29-Jan-14)
- Home Depot Midwest Electric 50A GFCI spa panel/disconnect $65.97 (29-Jan-14)
- Breakers seem to be somewhat failure prone
- Several available on eBay starting around $30
- Tri Clover Caps – x2
- StillDragon 1 1/2″ Tri Clover Cap (60g) $2.50 (01-Apr-14)
- Brewer’s Hardware 1 1/2″ Tri Clover Cap (.25″ thick) $3.00 (28-Jan-14)
- Bubba’s Barrels 1 1/2″ Tri Clover cap SF051 $3.49 (30-Jan-14)
- Brewer’s Hardware 2″ Tri Clover cap $3.75 (28-Jan-14)
- Bubba’s Barrels 2″ Tri-Clover compatible cap $3.91 (30-Jan-14)
- MoreBeer 2″ Tri Clover cap $4.95 (28-Jan-14)
- Tri Clover Clamps – x3
- StillDragon 1 1/2″ Tri Clover clamp $5.00 (15-Apr-14)
- Brewer’s Hardware 1 1/2″ Tri Clover clamp $6.00 (28-Jan-14)
- Bubba’s Barrels 1 1/2″ Tri Clover clamp SF031 $7.91 (30-Jan-14)
- Brewer’s Hardware 2″ Tri Clover clamp $7.00 (28-Jan-14)
- Moonshine Distiller 2″ Tri-clover clamp $7.49 – price match guaranteed (30-Jan-14)
- Bubba’s Barrels 2″ Tri Clover clamp $7.91 (30-Jan-14)
- Tri Clover Elbows – x1 or x2
- StillDragon 1 1/2″ Tri Clover 90° elbow $13.00 (15-Apr-14)
- Brewer’s Hardware 1 1/2″ Tri Clover clamp-type 90° elbow $15.00 (28-Jan-14)
- MoreBeer 1 1/2″ Tri-clover clamp-type 90° elbow $18.00 (30-Jan-14)
- Brewer’s Hardware 2″ Tri Clover clamp-type 90° elbow $19.50 (28-Jan-14)
- Tri Clover Element Mounts
- Bubba’s Barrels 1 1/2″ Tri Clover x 1″ NPS female mount $27.91 (30-Jan-14)
- Brewers Hardware 1 1/2″ Tri Clover threaded mount $29.00 (28-Jan-14)
- Bubba’s Barrels 2″ Tri Clover x 1″ NPT female mount $19.91 (30-Jan-14)
- Bubba’s Barrels 2″ Tri Clover x 1″ NPS female mount $29.91 (30-Jan-14)
- Brewer’s Hardware 2″ Tri Clover threaded mount $34.00 (28-Jan-14)
- Tri Clover Ferrules
- Brewer’s Hardware 1 1/2″ Tri Clover medium ferrule (.846″ length) $3.75 (28-Jan-14)
- Brewer’s Hardware 1 1/2″ Tri Clover long ferrule (1.125″ length) $3.80 (28-Jan-14)
- Brewer’s Hardware 2″ Tri Clover long ferrule $4.50 (28-Jan-14)
- Tri Clover Gaskets – x3
- StillDragon 1 1/2″ silicone gasket $0.35 (15-Apr-14)
- Brewer’s Hardware 1 1/2″ Tri Clover silicone gasket $1.00 (28-Jan-14)
- Brewer’s Hardware 2″ Tri Clover silicone gasket $1.25 (28-Jan-14)
- Tri Clover Spools/Extensions/Tubes – x1
- StillDragon 1 1/2″TC x 20″ Pipe $33.00 (01-Apr-14)
- Texas Process Technologies 1 1/2″x24″ Pipe $42.00 (15-Apr-14)
- Texas Process Technologies 1 1/2″x18″ Pipe $37.00 (15-Apr-14)
Stainless build options/discussion threads
- http://www.homebrewtalk.com/f170/triclamp-heatstick-392172/
- http://www.homebrewtalk.com/f51/ultimate-heatstick-240-volt-116049/
- http://www.homebrewtalk.com/f170/heatstick-doom-start-wiring-qs-171288/index3.html
- http://www.artisan-distiller.net/phpBB3/viewtopic.php?f=4&t=463
Electrical and Wiring
- Thread with good discussion and diagrams for extending existing 3 and 4 wire outlets to a spa panel/GFCI at the kettle.
Abandoned Ideas
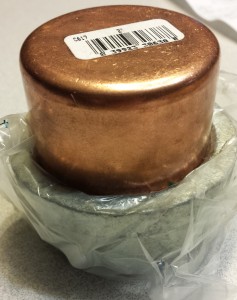
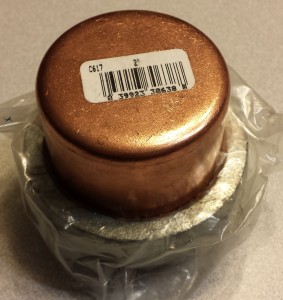
2″ Copper Endcap Threaded Into 2″ Stainless Steel Female Cap
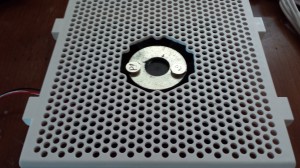
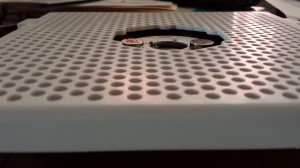
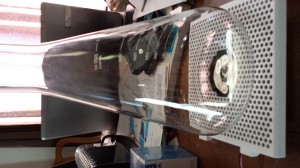
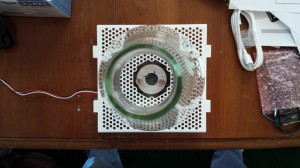
One of my thoughts was to thread (NPT) the outside of a 2″ copper endcap, apply teflon tape, and thread it into a 2″ stainless steel endcap. I would bore a centered hole in both caps, and the copper cap would be threaded onto the heating element, flat side toward the element. An elbow would be threaded into the stainless steel cap and attached to a piece of stainless steel pipe through which wiring for the element would have been run.
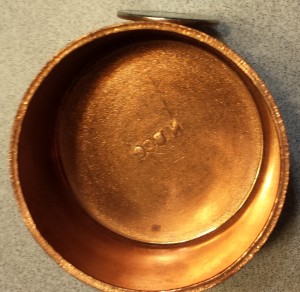
I believe I have a threader which would have allowed me to thread the copper endcap, but I had several concerns about the longevity of the design in addition to the questionable cost-effectiveness. Even Chinese stainless steel 2″ endcaps are north of $20, and that would not include any boring/threading/machining. I was also concerned about the durability of the union between the relatively thin copper endcap (shown with a quarter standing beside it in the picture above for comparison) and the threaded fitting of the element.
